要想完全的了解flutter引擎的内容,需要自行编译做调试跟进。
核心参考 https://github.com/Impact-I/reFlutter/blob/main/.github/workflows/main.yml
这个 github action 配置文件
为了这次编译我完全开了一个新的ubuntu18的虚拟机。下面开干。

depot_tools 谷歌的包管理工具,可以管理多个git项目。重点就是可以断点续传,避免拉一半消失。
配置环境变量使gclient命令生效
底部新增一行
配置生效
这一步我们使用gclient来拉取仓库
新建文件夹
新建配置文件填写gclient配置
写入配置
方便同步 可以fork一份到自己仓库 配置ssh密钥
参考 https://blog.csdn.net/qq_36275734/article/details/78877851
修改前面的git仓库路径为自己的
开始同步
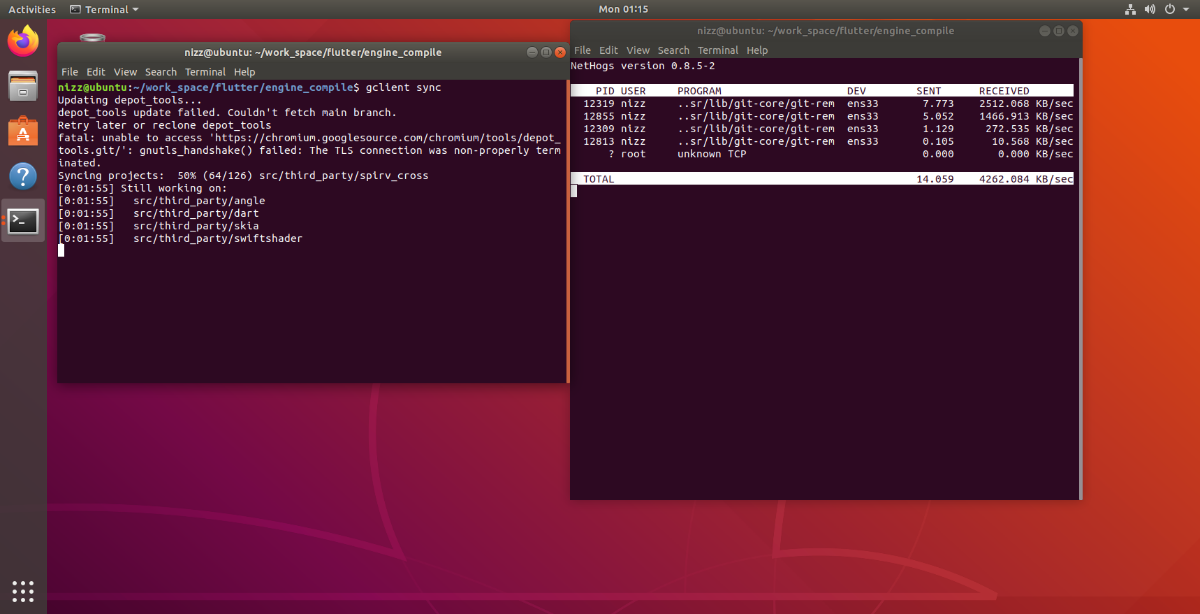
需要等很久 打开网络流量监控看下

同步完成切换分支 先去看本地的flutter版本
你的flutter环境下的 /flutter/bin/internal/engine.version可以找到
比如我的 57d3bac3dd5cb5b0e464ab70e7bc8a0d8cf083ab
https://github.com/flutter/engine/tree/57d3bac3dd5cb5b0e464ab70e7bc8a0d8cf083ab
查看当前commitid
确认开始同步
又是漫长的等待同步完成
编译预配置
只编译安卓
具体的编译参数看官方文档
https://github.com/flutter/flutter/wiki/Compiling-the-engine#compiling-for-android-from-macos-or-linux
开始编译 自行输出目录 是前面创建的输出目录
等待成功即可。
目标引擎版本 857bd6b74c5eb56151bfafe91e7fa6a82b6fee25
fatal: Could not parse object '857bd6b74c5eb56151bfafe91e7fa6a82b6fee25'.
先 进行 git pull 操作 更新git log找到该版本信息
开始同步
gclient sync --with_branch_heads --with_tags --verbose
git clone https://chromium.googlesource.com/chromium/tools/depot_tools.git
git clone https://chromium.googlesource.com/chromium/tools/depot_tools.git
gedit /etc/profile
export PATH="$PATH:/home/nizz/work_space/flutter/depot_tools"
export PATH="$PATH:/home/nizz/work_space/flutter/depot_tools"
source /etc/profile
mkdir engine_compile
cd engine_compile
mkdir engine_compile
cd engine_compile
touch .gclient
gedit .gclient
touch .gclient
gedit .gclient
solutions = [
{
"managed": False,
"name": "src/flutter",
"url": "git@github.com:flutter/engine.git",
"custom_deps": {},
"deps_file": "DEPS",
"safesync_url": "",
},]
solutions = [
{
"managed": False,
"name": "src/flutter",
"url": "git@github.com:flutter/engine.git",
"custom_deps": {},
"deps_file": "DEPS",
"safesync_url": "",
},]
gclient sync
[注意]看雪招聘,专注安全领域的专业人才平台!
最后于 2022-11-24 11:12
被小黄鸭爱学习编辑
,原因:


